How Do You Properly Use a Thermal Laminator for Perfect Results?
1. Choose the Right Laminating Pouch
When using a thermal laminator, selecting the right laminating pouch is essential for achieving the best results.
Thickness of Laminating Pouches
The thickness of a laminating pouch affects the overall durability and flexibility of the laminated document. Laminating pouches come in various thicknesses, typically measured in mils (thousandths of an inch). Understanding these options will help you pick the right one for your project.
-
3 Mil Pouch: Ideal for documents that need flexibility, such as menus, brochures, or photographs. This thickness offers a balance between durability and pliability, making it a popular choice for general lamination needs.
-
5 Mil Pouch: A thicker pouch that provides more rigidity and is often used for important documents like certificates, ID cards, and licenses. The extra thickness helps protect the contents better but may make the lamination less flexible.
-
7 Mil Pouch: These pouches are ideal for very durable lamination. Items like business cards, tags, or product labels can benefit from this level of protection, as they become stiffer and more resilient.
Size of the Pouch
Laminating pouches come in various sizes, and choosing the correct size is crucial for a good lamination result. The most common pouch sizes include:
-
Letter Size (8.5 x 11 inches): This is the standard size for most documents like certificates, resumes, or photos.
-
A4 Size (210 x 297 mm): Similar to the letter size but used in regions that follow the A4 paper standard (common outside the U.S.).
-
Custom Sizes: Some laminating machines can accommodate custom-sized pouches. If you’re working with business cards, photos, or larger posters, you might need specialized pouches.
When selecting a pouch, ensure that it is slightly larger than your document to avoid edges that aren’t sealed properly. For example, if you’re laminating an 8 x 10-inch photo, use a 9 x 12-inch pouch to leave a small margin.
2. Prepare Your Document
The preparation of your document before inserting it into the laminating pouch plays a significant role in ensuring smooth lamination without wrinkles or misalignment.
Smooth Out Creases
Before you laminate, make sure your document is flat and free from any wrinkles, folds, or creases. If your document is slightly curled or bent, it can cause problems during the lamination process. Here are a few tips to prepare your documents:
-
Use a flat surface: Lay your document on a smooth, hard surface to eliminate any bends.
-
Iron out small creases: If you encounter minor wrinkles, you can iron the document gently using a low-heat setting. Be careful not to apply direct heat to the print, as this may cause ink to smudge or damage the document.
Align Properly
Once your document is wrinkle-free, you need to place it correctly inside the laminating pouch. Proper alignment is critical for ensuring that the document is evenly laminated. Here’s how to do it:
-
Leave a border: Ensure the document is centered inside the pouch, leaving a small border around all edges. This border should be at least 1/8 inch on all sides to allow proper sealing.
-
Avoid overlapping edges: Don’t let the document extend beyond the pouch, as this will result in unsealed areas and may cause the document to jam in the laminator.
3. Preheat the Laminator
Before you begin the lamination process, it’s crucial to allow the laminator to heat up fully. The preheating process ensures that the plastic pouch adheres properly to the document.
Turn on the Laminator
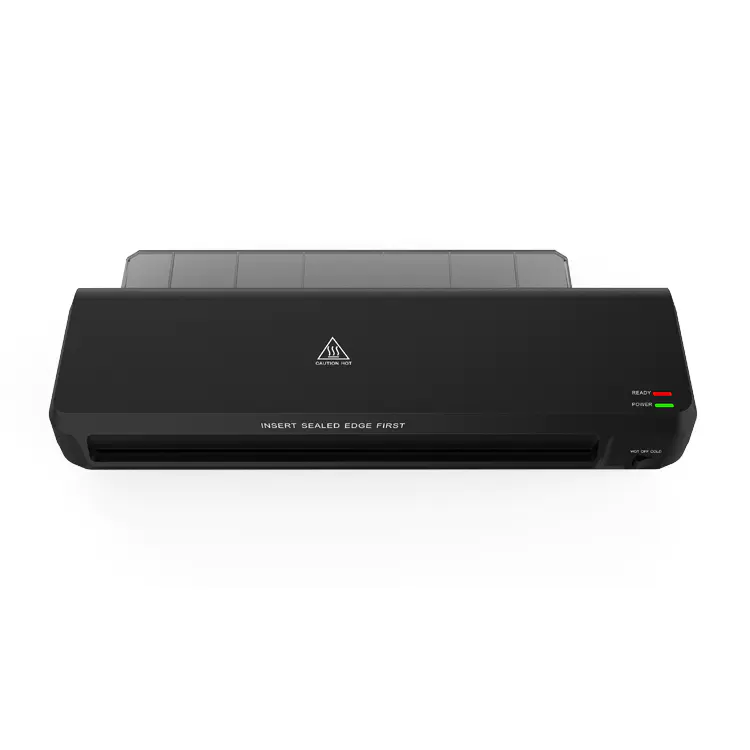
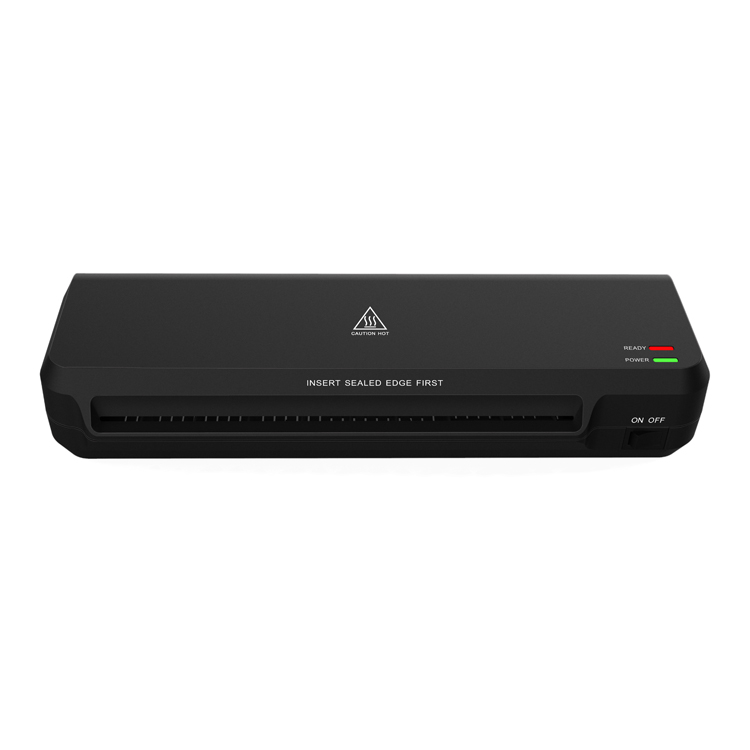
Most laminators have a power switch that should be turned on before the lamination process begins. After turning on the laminator, you’ll usually notice a heating light indicating that it is warming up. The machine typically takes about 3-5 minutes to reach the optimal temperature.
- Allow time to heat up: It’s important to give the laminator sufficient time to heat to the correct temperature. Don’t rush the process by feeding documents into the machine before it’s fully heated, as it could result in uneven lamination.
Set the Temperature
Most thermal laminators come with adjustable heat settings to accommodate various pouch thicknesses. Here’s a basic guide to help you set the temperature:
-
For 3 Mil Pouches: Use a lower heat setting.
-
For 5 Mil Pouches: Set the temperature slightly higher for optimal lamination.
-
For 7 Mil Pouches: A high heat setting is required for thicker pouches to ensure proper bonding.
Check the laminator’s instruction manual to ensure you’re using the correct setting for the thickness of your laminating pouch.
4. Feed the Pouch into the Laminator
Once the laminator is fully heated, you can begin the lamination process. However, it’s important to feed the pouch into the machine correctly to prevent jams and ensure a smooth finish.
Align and Feed Slowly
Place the sealed end of the laminating pouch into the input slot of the machine first. Ensure that it’s aligned with the machine’s guides and not crooked. Feeding the pouch into the laminator should be a slow, steady process. The laminator will automatically pull the pouch in once the sealed end enters the machine.
Wait for It to Enter the Machine
Once the pouch is inserted, allow the machine to automatically draw it through. Do not force the pouch into the machine, as this can cause misalignment or jams. Be patient and wait for the pouch to fully pass through the rollers.
5. Allow the Lamination to Complete
After inserting the pouch, it’s important to let the laminator do its job and allow the document to fully laminate.
Wait for the Pouch to Exit
The laminator’s rollers will heat the pouch and seal the edges around your document. The laminated document will then exit from the other side of the machine. Depending on the thickness of the pouch and the speed of the laminator, this may take anywhere from 30 seconds to 1 minute.
- Be careful not to pull: Once the pouch is inside, allow it to be pulled through automatically. Don’t try to assist the laminator by pulling the pouch out, as this could disrupt the process and cause uneven lamination.
Let It Cool
After the laminated document exits the machine, it will still be warm and soft. Allow it to cool for a minute or two to avoid any bending or warping while it’s still soft.
6. Trim the Edges (Optional)
Once the document is laminated, you may notice some excess film around the edges. If you prefer a cleaner finish, trimming the excess film is an easy step.
Remove Excess Film
Use scissors or a paper trimmer to carefully cut away any extra plastic around the edges of the document. Leave a small margin between the document and the cut edge to ensure the seal remains intact.
- Don’t cut into the document: Be careful when trimming, and make sure not to cut into the laminated document itself.
7. Allow the Laminated Document to Set
Even though the laminated document may feel solid right after it exits the laminator, it’s important to let it cool fully before handling it. This cooling period ensures that the plastic seal hardens properly and the document retains its protection.
Cool Down Fully
Give the laminated document a few extra minutes to cool before bending, storing, or displaying it. This final step is essential in ensuring that the lamination is strong and secure.
Tips for Perfect Lamination
Don’t Overload the Laminator
It’s tempting to laminate multiple documents at once, but it’s best to laminate one document at a time. Overloading the machine can cause uneven lamination or even jams, which can damage both your machine and documents.
Use the Right Paper
Choosing the right paper for lamination is also crucial. Heavier paper types, such as card stock, hold up better in the laminating process. Lighter paper may wrinkle more easily and can result in a less durable laminated item.
Clean the Laminator Regularly
To maintain optimal performance, it’s essential to clean your laminator regularly. Use a soft, damp cloth to wipe the rollers and remove any glue residue or dust that may build up over time. Regular cleaning ensures smoother operation and prevents sticky marks on your laminated documents.
By following these detailed steps and tips, you can ensure that every lamination job you do is successful, providing professional-quality results every time!

 English
 русский
 Español
 Deutsch
 عربى
عربى
 0
0

